

How To Clean Rear Window With Defroster
How to Remove Tint Mucilage From Rear Window With Defroster
Introduction
Defrosters are modes on a car that assist cook ice and snow off whatsoever automobile window. Using this function, you tin hands remove frost or fog from the windows during the cold months of winter. This feature comes standard in most modern cars, only some older vehicles may not take one at all.
The defroster setting is ordinarily located on the left side of your vehicle's instrument console, and it can be activated by turning a knob or pressing a button. Most defrosters use an electric chemical element to get rid of condensation build-up, but some practice come equipped with a separate heater likewise. Today I will talk over how to remove tint glue from rear window with defroster.
Pace-wise Guide on How to Remove Tint Mucilage From Rear Window With Defroster
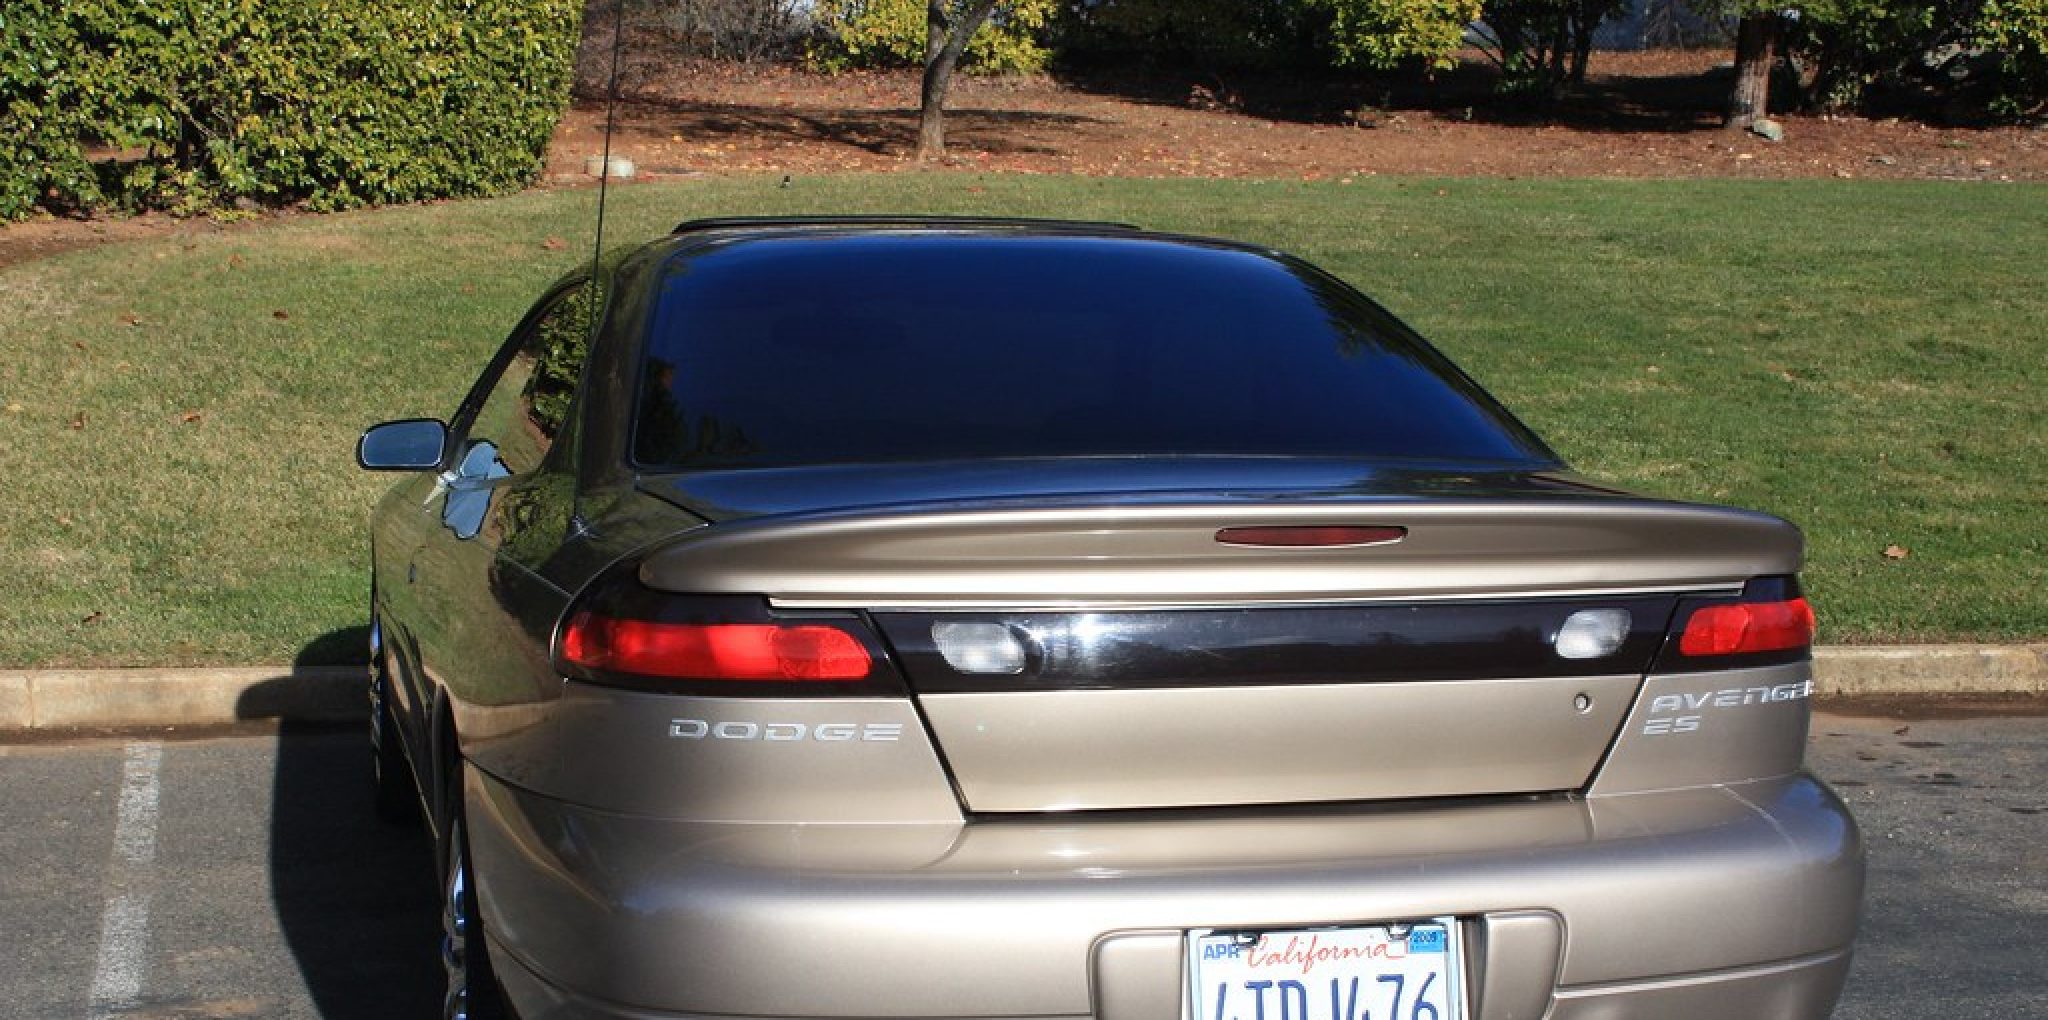
While a tint is applied to the car window to enhance its advent, people often find problem removing the glue left behind on other parts, that too from a challenging area as that of the rear window. A windshield defroster needs to exist cleaned well if it remains dirty or gets covered with any stains. It can be washed using drinking glass cleaner and water, simply many people volition think twice before trying such a solution on their defrosters. This problem can too exist confronted by those who had used dusting cloths or cleaning agents for wiping purposes without knowing whether they are rubber enough or not. Therefore, y'all should get careful while choosing cleaning products to avoid ruining your defrosters due to an inappropriate removal method. You should also not forget to effort the following steps for removing the glue if you take applied a tint on your rear windows.
Stride one:
Before starting with the removal process of tint, you need to find a solvent for information technology, and an appropriate product can exist constitute in hardware stores. This will help you lot greatly in cleaning those tough stains that are left behind past the quondam agglutinative, so y'all must clean them well. This step will besides ensure proper menstruum of heat from defroster towards windshield equally any dirt may block its channels and prevent effective emission of hot air towards within the auto.
Pace 2:
Kickoff, before pouring solvent directly onto the defroster, y'all should accept off the plastic blanket which covers it. This tin can be done by using a utility knife or a bract that has got a sharp edge. In one case you succeed in removing the plastic coating, brand certain to remove every particle of dirt and dust from its surface with the aid of a wet cloth, every bit this may prevent further damage.
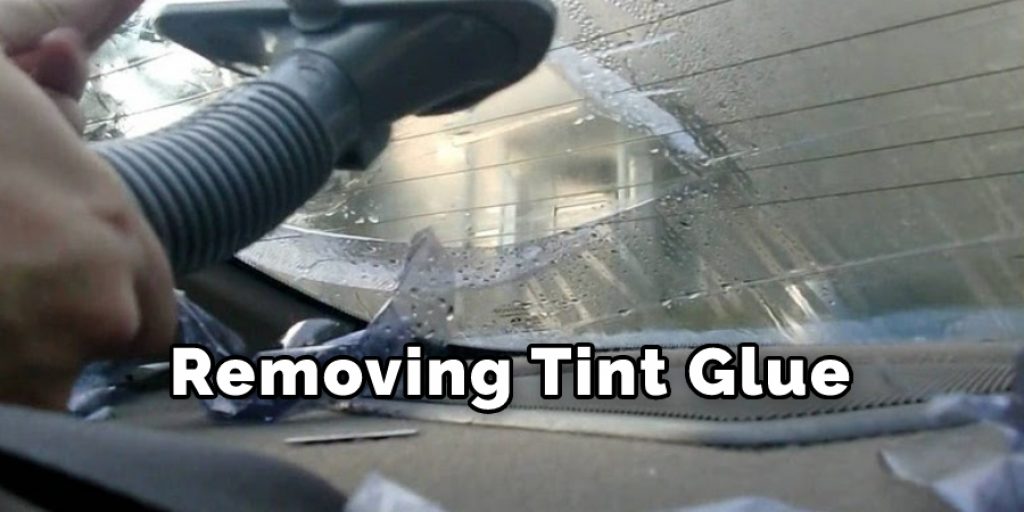
Step iii:
After ensuring that defroster is completely cleaned, pour some solvent onto information technology while taking care not to spill any. Allow some time pass for its event on adhesive.
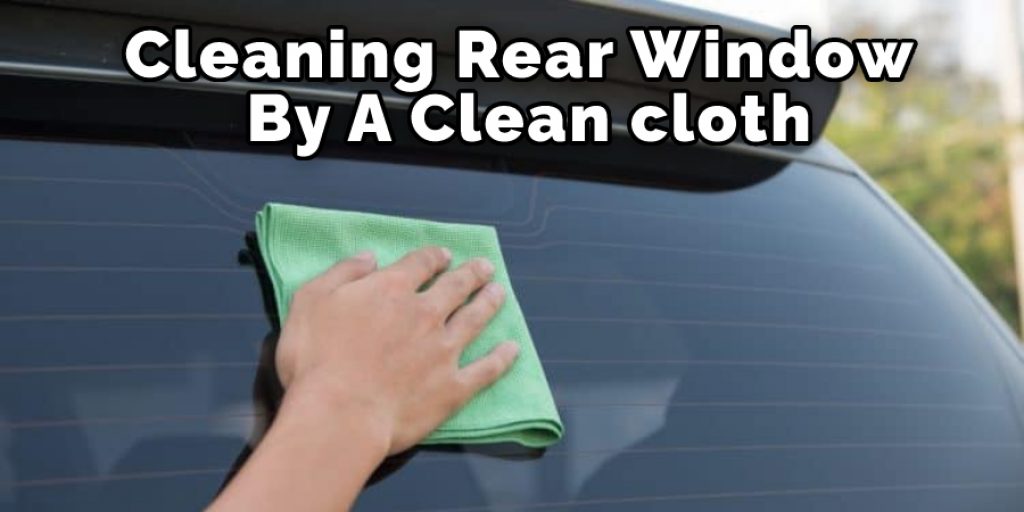
Step 4:
At present, use a clean cloth to wipe off those small spots left backside if there is no other alternative available except for sandpaper. Ensure that you do non use metallic objects like nails, screws, etc., every bit they may scratch your defroster and reduce the transparency of its surface in some areas.
Step 5:
Now, wipe off the remaining portion of glue by using sandpaper, and make sure to exist very conscientious while doing so. This is because scratches may occur if you press hard plenty on the defroster with sandpaper or any other metal object, as this will end up ruining your defroster and making it totally useless. After cleaning it properly, you lot should get ready to install a new plastic coating establish in machine stores near your locality at affordable prices. It will certainly aid you to avoid the trouble of removing tint glue from the rear window with a defroster subsequently on. However, if the problem persists after re-gluing the area, then there is no other option except for removing the tint from the area and applying another glaze of new one.
Step 6:
At present, put a thick layer of glaze on the cleaned portion and ensure that you use enough quantity for the agglutinative to be properly set in its place. Then, give it sufficient time for drying every bit heat awarding will assist in smoothening out the surface completely. Afterward taking precautions with all these steps, your defroster will be dorsum into its original condition without whatever problem related to rest left backside past old adhesive, thus ensuring a better flow of air inside your motorcar and keeping occupants absurd even in sweltering atmospheric condition exterior.
Pace 7:
Using this effective method of removing tint mucilage from the rear window with a defroster volition surely prevent further damage. And then, once yous are washed with the application, keep it away from direct touches of hands as this may spoil its surface again.
Step 8:
If you lot run across some small scratches on the defroster afterward removing tint glue from the rear window with the defroster, you should not worry virtually them, equally they will certainly fade away over time.
Precautions While Performing How to Remove Tint Gum From Rear Window With Defroster
- Turn off the A/C compressor at the fuse box or remove the fuse that controls the rear window defroster to avoid burning hands.
- The tint gum has a solid adhesive quality, so it can harden fifty-fifty after years of removing with water, alcohol, and a estrus gun. This is ane important thing why you should utilise chemical solvents such every bit acetone and methyl ethyl ketone to soften UPVC fabric under tinted motion picture before manually removing them from window glass by using a razor bract scraper or spatula.
- Clear plastic film used for applying car wraps can exist removed past simply wiping away with a cloth dampened with lacquer thinner, simply Tint Mucilage cannot be cleaned this way considering information technology is nevertheless sticky on the glass fifty-fifty after years of UV exposure.
- Used bottles of glass cleaners, isopropyl alcohol, acetone, or methyl ethyl ketone are toxic to humans and can be dangerous if you don't know what solvent it contains and how much is in the bottle.
- Never utilize a sprayer to remove tint mucilage from glass considering broken glass pieces will spread all over the place. Instead, ringlet down the rear window defroster when removing the film from the window for precise cutting, allowing modest shards to get in-between shield molding on vehicle body panels rather than dropping down onto the motorcar upholstery panel when work is done outside body shop bounds with dull blades or razor.
- After removing the onetime motion-picture show, make sure that there is no more adhesive before applying the new film.
- Apply gloves and safety glasses when removing tint glue from the window glass with defroster because the solvent you are using to remove tint moving-picture show has a strong odor which tin can create dizziness, vision problem or headache as well as skin irritation such as redness, swelling, rashes and burn if it touches blank hand or face up.
How To Clean Windshield Haze:
1. Parking in the Sunday:
a) If your machine has been sitting for a long time and the windows have fogged up, you may be able to become rid of the fog past parking in the dominicus. As well, put some ammonia in the washer reservoir if it is badly affected.
ii. Solve The Problem With An Orangish Pare:
One style to remove the motion picture from your windshield is to rub the orangish peel over it with a textile. This can aid you lot remove any bubbles and cut down on glare while driving at nighttime too.

three. Remove The Mucilage And Haze With Windshield Handling Kit:
If all else fails, try cleaning the within of your window with a expert auto glass cleaner that contains silicone and other chemicals recommended past the manufacturer of your car. Yous may too attempt filling a spray canteen with h2o and adding a teaspoon of toothpaste to the mixture, then using the solution on the inside of your window to remove any haze or agglutinative left behind from decals.
4. A Leaking Heater Core:
A heater core is a duct that transports hot coolant from your engine to your vehicle's cabin. If it develops a leak, yous'll notice an scent like antifreeze and may hear hissing sounds when you turn on the heat or defroster. The about common reason for this is corrosion in the brass fittings of the core itself. When this happens, water tin can spray out of these areas and onto your windshield, creating a hazardous situation while driving and damaging your window permanently. Some other way this problem could occur is if part of the hoses connecting to the core has become brittle over time due to exposure to extreme temperatures (such equally existence buried nether the snowfall). Your all-time bet if either of these situations applies to you is to have your car towed into a store so that it tin can be properly diagnosed and repaired.
You Tin can Check It Out to: Clean Windshield Haze
Decision
Since the tinted film is no longer popular, I advise that you remove it from a rear window or, when applying a new one, make sure not to cull a nighttime colour because the sun gets in through the corner of the window. Only if you actually want dark drinking glass, choose a clear picture with UV protection that will block 99% of harmful radiation without affecting visibility within the car and causing potential nightmares, which may occur during summer when hot sun rays are pressing downwardly on your upholstery. I hope yous have obtained a clear idea of how to remove tint glue from rear window with defroster. Cheers and have a overnice 24-hour interval!
Source: https://diyquickly.com/how-to-remove-tint-glue-from-rear-window-with-defroster/
Posted by: kellywalway.blogspot.com
0 Response to "How To Clean Rear Window With Defroster"
Post a Comment